When it comes to learning how to make a free solar panel charger from scratch there are a number of basic requirements that need to be available. This usually requires some essential cooking skills, a bit of knowledge on soldering, and you will also need to have some knowledge in electrical appliances. The materials that are used in making this charger comes from this that are found in the house. This basically means that anybody who has a bit of knowledge can be able to make a solar panel charger without much problem.
Basic Requirements
The things that are required include CD cases that are empty, kitchen accessories that are somehow old, different copper sheeting that is found from different craft projects and any other gadget that might not be in use but is still working perfectly and can be used are perfect for the building of this charger. Other basic requirements that have to be there include tin snips, safety goggles, two pieces of alligator clips, a glass jar that has a mouth that is
- two liters wide
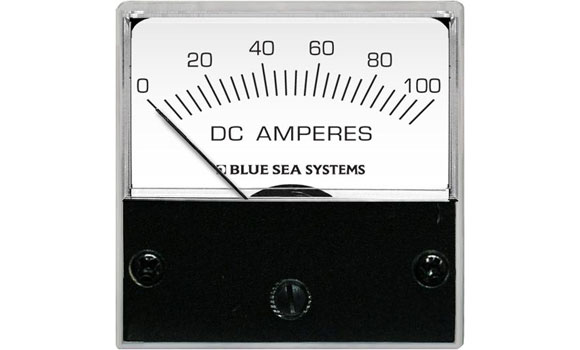
- micro-ammeter
- electrical lead
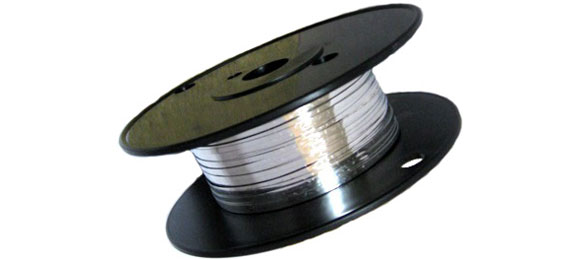
- bus wire
- tabbing wire
- silver solder
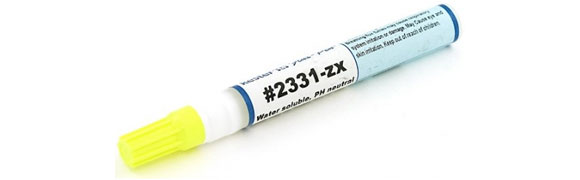
- flux pen
- soldering iron
- super glue
and not forgetting two packs of battery that have a wiring attached to them. It is important for one to have all these requirements because they all will be needed at one point or the other to make the making of the solar panel charger successful.
Important Steps to Follow
The first thing that you will need to do is to put the goggles on and then cutting the copper sheeting into two pieces. The pieces need to be slightly bigger than the CD case that you have with you. You then need to turn the camp electric stove that has a single burner on followed by placing a piece of the copper sheeting on top of the burner directly.
Oxidation will begin as the sheeting begins to heat and it should then be allowed to burn for approximately 30 minutes. You should then turn off the burner and give the copper a chance to cool so that the copper can shrink which in the end results to the oxidized copper flaking. You will then need to remove the copper away from the burner after 20 minutes of cooling whereby you will rinse it in water. The flakes that are remaining should then be rubbed off from the sheeting gently without scrubbing.
You will then need to pour a mixture of 4 table spoons of salt in two cups full of water. The glass jar should then be filled with half full of water and then placed on a flat surface followed by placing the micro-ammeter close to the jar. Place the oxidized copper sheeting together with the other clean one and cut them accordingly. You then need to curve these sheets followed by sliding them carefully into the glass jar.
You should leave one inch of the copper away from water. One alligator clip should then be clipped to the oxidized sheet on top and the other one on the clean sheet. The clean sheet should then be connected to the terminal that is positive while the oxidized one connected to the negative terminal of the mini-ammeter. When an electrical charge shows up you will need to remove the clips from the 2 sheets and then remove the sheets from this jar.
How to Finish?
After this the solar cells need to be laid with the side that is oxidized facing up. The bus wire and the tabbing wire should then be cut appropriately and then be soldered to the solar cell. The front and back of the CD case should then be separated and the solar cell attached with super glue to the CD case cover. The two battery packs then need to be glued on the inside of the CD case and then the packs connected appropriately. After this the charger should be charged in the sun.